- Home
- Services
Residential Services
Commercial Services
Additional Services
- Areas We Serve
- Financing
- Resources
- About us
- Contact Us
Setting the Standard in AZ Roofing Since 1993
Roofs in desert cities work hard. Sun bakes shingles and tiles all day, then monsoon cells dump inches of water in an hour. A solid replacement protects your home, and clear documentation protects your investment. This roadmap shows how a professional team plans, installs, and proves a roof replacement from start to finish, every step visible, photographed, and recorded. You’ll see what to expect on the phone, at the inspection, during tear-off and install, and at the final walkthrough. No mystery, no guesswork. Just a clean process, tight details, and a digital paper trail you can keep for years.
The process starts with a quick call. A coordinator asks about leaks, stains, age, past repairs, attic access, and HOA rules. Notes go into your project file along with your preferred contact method and access instructions for pets, gates, or alarm codes. You pick an inspection window that fits your schedule. You also receive a brief outline of the next steps so you know exactly what will happen on site.
A project specialist walks the roof and attic. They check decking, underlayment, vents, flashings, skylights, dead-pan transitions, and valleys. They photograph problem areas and measure slopes and tie-ins. You get a short debrief on site: what failed, what still works, and what needs attention. Expect clear terms, not buzzwords. The photos tell the story; the summary explains the fixes.
You receive a line-by-line scope with photos embedded. Materials appear by brand and type, not vague “premium underlayment.” The plan covers:
Every choice comes with pros and cons. You pick colors and profiles, and the team locks your selections in the file.
The office submits permits with the city, and, if needed, prepares an HOA packet with product data sheets and colors. You receive the planned start date, crew hours, parking notes, and a point of contact for updates. If the weather shifts the timeline, the office calls or texts with a new plan so you never wonder what’s next.
Crews arrive on time, greet you, and walk the site. They protect landscaping with breathable tarps, move patio furniture, and set safety lines. A roll-off shows up in the right spot so drivers and deliveries still have room. The project manager snaps “Day 1” photos of the house, yard, and driveway to confirm the site remains clean and undamaged.
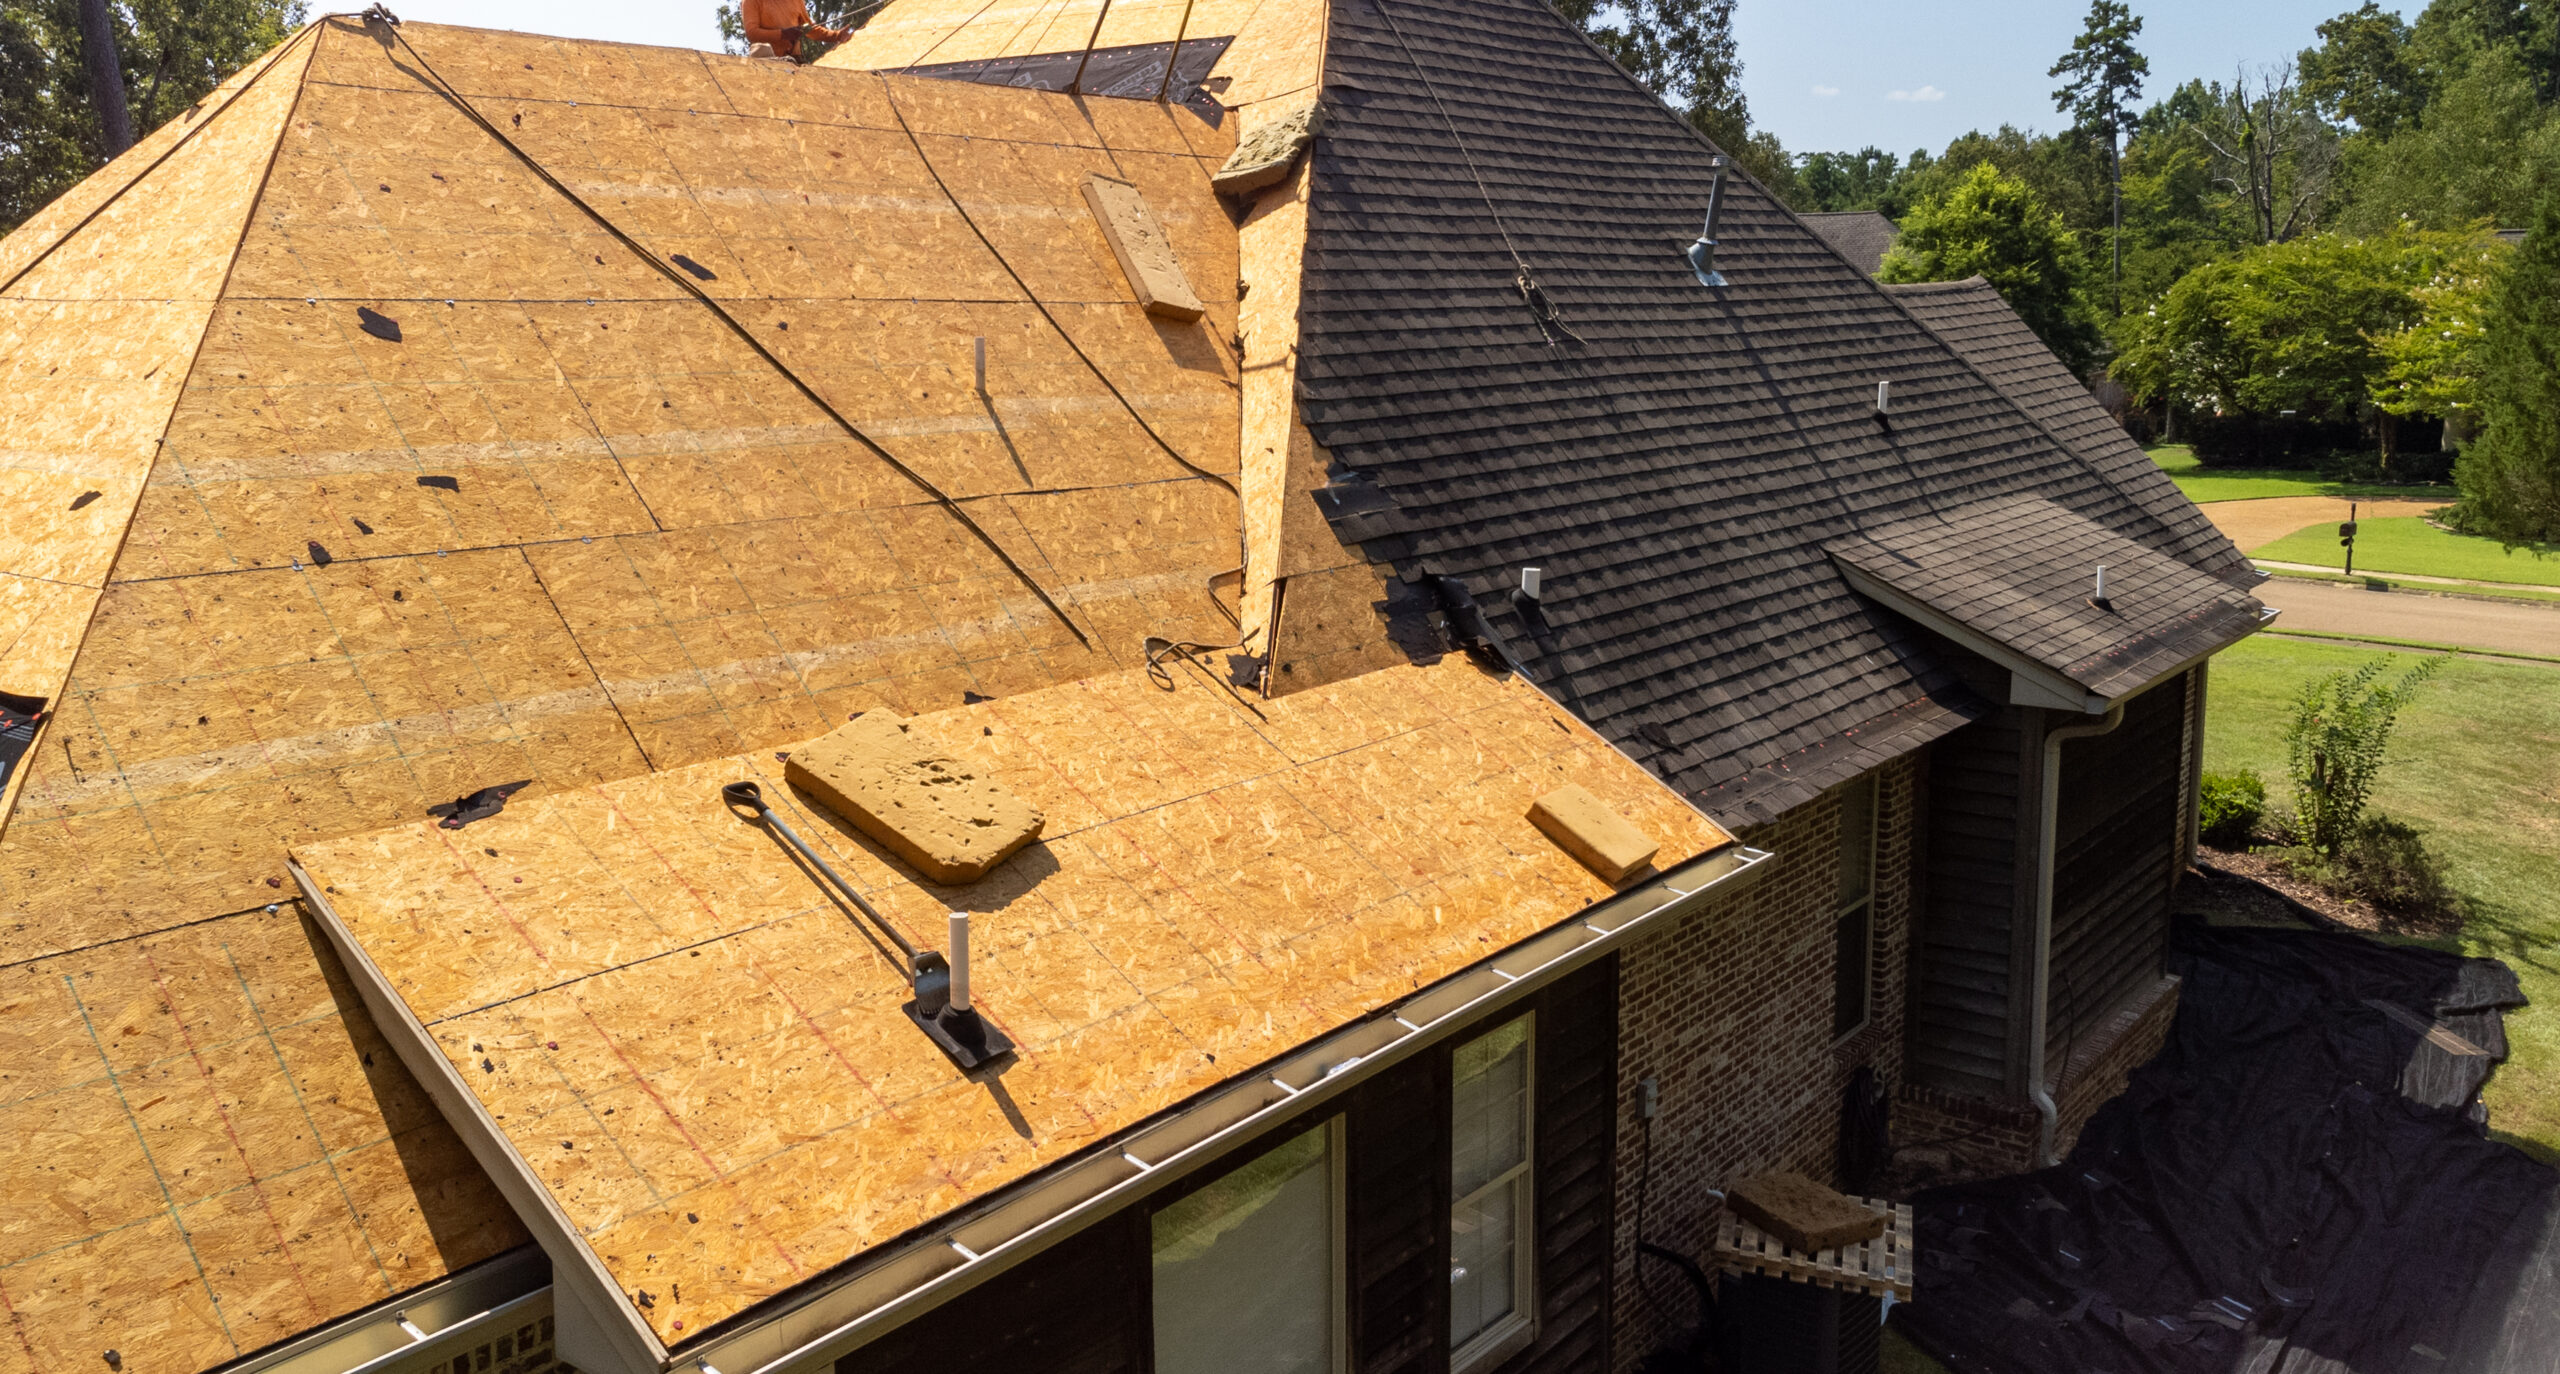
Old roofing comes off down to the deck. Crews pull every fastener and sweep the deck clean. The project manager probes soft spots and marks repairs. You get photos of each repair before new wood goes in. That proof matters later, both for insurance and for resale disclosures. No hidden surprises, no mystery charges.
Arizona heat and summer bursts demand a tight dry-in. Crews install drip edge, then self-adhered membrane at eaves, valleys, and dead-pan pockets. Synthetic underlayment covers the rest with correct laps and cap nails. Penetrations get temporary seals before the team breaks for the day. You receive end-of-day photos that show a weather-tight roof, not a patchwork of loose sheets flapping in the wind.
Water sneaks in at edges and holes, not in the wide open field. The crew installs new step flashing at sidewalls, counter-flashing or reglet at stucco, saddle crickets behind wide chimneys, and kick-out flashings at eaves to protect stucco and siding. Vents, pipe jacks, skylight curbs, and satellite tie-offs get proper boots and sealant beads. Each detail gets a labeled photo in your file.
Shingle or tile systems go down in sequence. Starters lock the edges, field courses run straight and nailed to spec, and ridge caps seal the peak. Tile roofs stay open in valleys so water and grit pass freely. Crews keep fasteners out of the flow path. The project manager checks courses, cuts, and exposures and takes progress photos from the ground and, if needed, by drone.
At lunch and late afternoon, crews clean the yard, walks, and driveway. Magnets sweep for nails. Tools stack neatly; gates close; pets stay safe. The project manager texts a short update with tomorrow’s plan. You never wake up to a surprise swarm of roofers.
The project manager walks the roof and the ground, corrects punch items, and reviews photos with you. Your packet includes:
Digital copies live in your customer portal or email so you can share them with buyers, insurers, or an HOA at any time.
Desert roofs last longer with light care. Clear leaves from valleys and scuppers before monsoon season, trim overhanging branches, and schedule an annual inspection. Report wind damage quickly so small fixes stay small. The same manager who ran your job remains your contact for future service.
1) How long does a full replacement take in Phoenix or Tucson?
Most single-family projects take two to four days once crews start. Complex roofs or wood repair can add time. The manager sets a clear schedule before work begins and updates you if weather shifts plans.
2) Do I need a permit for a roof replacement?
Cities in the Valley and in Pima County require permits for most full replacements. The office pulls the permit and schedules inspections. You receive a copy of the final sign-off for your records.
3) What documentation do I receive at the end?
You get a photo record of the deck, dry-in, flashings, and finished roof, plus permit sign-offs, material specs, and written warranties. We store digital copies in your file for easy access later.
4) How do crews protect my yard and pool from debris?
Crews tarp plants and water features, set plywood paths, fence the pool area as needed, and run magnetic sweeps. The manager photographs the setup on Day 1 and the cleanup on the last day.
5) Can you work around an HOA’s color rules?
Yes. The office prepares an HOA packet with samples, product data, and color names. You receive guidance on approvals so the board signs off without delays.
Plan your roof the smart way, with proof at every step. Call Lyons Roofing at (520) 442-1121 for a documented, clean, code-true replacement.